Geranium Cuttings Update

In late September, I wrote about overwintering zonal geraniums. It is so simple to do and is a great way to save money. Last year, I wasn’t successful at getting my ivy geraniums to overwinter so took some geranium cuttings as a “Plan B” for this year.
What happened last year was that my ivy geraniums were huge plants by the time I wanted to put them through the overwintering process. The solution? Well, I decided to give them a major haircut first, then pulled them out of their potting soil and put them into boxes in my basement.
It turns out they didn’t like that one bit and promptly died! (whoops) My theory is that I should have given them their haircut, let them stay in their pots for a couple of weeks as a recovery period, and THEN move them into storage. That’s what I did this fall and I’ve got my fingers crossed.
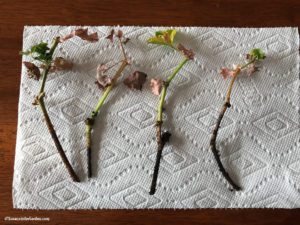
While giving them a haircut, I took 11 cuttings and placed them into potting soil. I didn’t use a rooting hormone as I’ve heard it isn’t necessary with many types of plants. Out of those 11 cuttings, seven have survived and are putting on nice root growth. In the photo to the right, you can see the poor souls that didn’t make it! I guess that’s only a 64% success rate but, hey, it’s way better than zero.
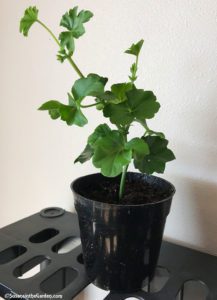
Today, I put each into its own pot (see photo at top left) so they can continue growing. So why am I telling you about this? My take-home message is to not be afraid to take cuttings of plants as a way to propagate them! After all, the worst thing that can happen is that the cuttings don’t take root, right?
I am not an expert at propagation, by any means. But I think it’s really important to try, to experiment, and to learn from what works and doesn’t work.
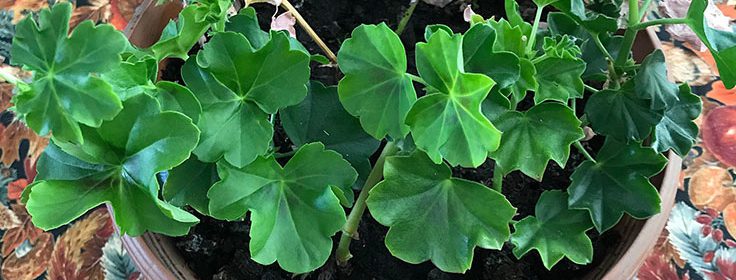
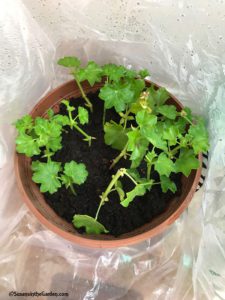
How did I take the cuttings? I snipped off about a 6″ length from the ends of each of the ivy geraniums’ stems. I stripped off all but the top two pairs of leaves, poked the stems into the potting soil of a large flower pot, and placed the pot inside a plastic bag for about 10 days (top photo). Once I removed the bag, I kept the pot in a sunny location until the cuttings were ready for their own individual pots.
Any time a cutting started sending out some flower buds — which happened a lot, believe it or not — I carefully snipped them off. After all, it’s more important they focus their energy on developing a good root system.
So here is what I want you to take away today: give propagation a try and see how it goes. You just might start producing a lot of the plants you would ordinarily have to buy!


