How to Grow Winter Squash

It’s not difficult to grow winter squash once you choose a variety or two out of so many wonderful offerings! Read my best squash tips below.
Latin Name: Cucurbita maxima
Plant Family: Cucurbit (Cucurbitaceae)
Warm-season crop
Did You Know?
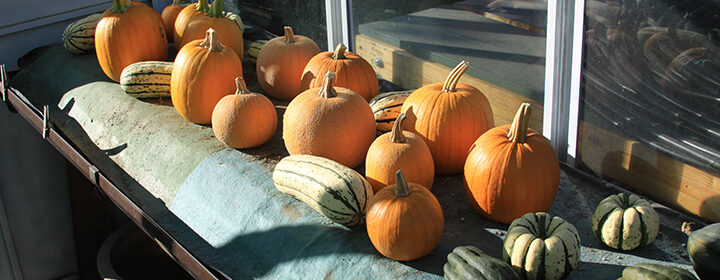
There are so many different types of winter squash that are well worth trying. They include acorn, butternut, buttercup, delicata, spaghetti, banana, hubbard — just to name a few. While winter squash is easy to grow, some cultivars require a very long season to produce mature fruits. If you live in an area with a shorter growing season, don’t despair; just choose cultivars that mature in 80 days or less and follow my tips for getting them off to a great start.
Plant Seeds or Seedlings? Sow seeds directly in the garden or start indoors 2 weeks prior to transplanting them into the garden.
When: After all danger of frost has passed.
Days to Germination: 5 to 10 days
Depth to Sow: 1 inch. For best germination, plant seeds with the pointed end facing downward.
Spacing: Plant seeds and seedlings 2 feet apart in the garden.
Days to Maturity: 88 to 105
Cultural Information:
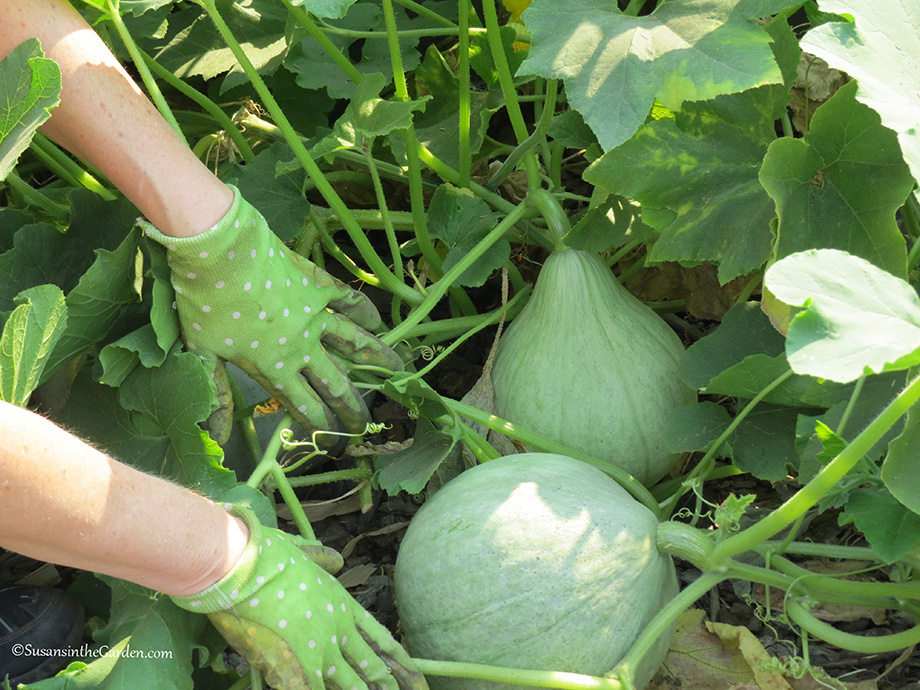
With the exception of a few bush-type cultivars, these plants grow as vines. Because of this, you should grow winter squash in an area where they can ramble. Prepare the bed by working some bonemeal into the top 3 inches of the soil. As soon as you plant your seeds or seedlings, cover the bed with floating row cover suspended on hoops for two to three weeks. This will create a mini greenhouse that the plants will love. Remove the cover before they start blooming as pollinators will need access to the flowers. Be sure to water regularly as the plants will grow rapidly.
Here’s a hint for gardeners in USDA zone 7 and below. Once each vine has a squash or two developing on it, trim the vine back to a few inches from the fruit. This will force the plant to focus its energy on developing it rather than continuing to bloom and grow.
Susan’s Picks: ‘Autumn Frost’, ‘Baby Blue’ hubbard, ‘Blue Ballet’, ‘Cushaw’, ‘Burgess’ buttercup, ‘Delicata’, ‘Kabocha’, ‘Potimarron’, ‘Red Kuri’, ‘Spaghetti’, ‘Sweet Dumpling’, ‘Sweet Meat’, ‘Table Queen’ acorn, and ‘Waltham’ butternut.
Potential Insect Problems: Pillbugs, cutworms, squash bugs, squash vine borer
When to Harvest: It isn’t hard to grow winter squash but you might wonder how you’ll know when they’re ready to pick. You’ll want to do the “thumbnail test” to find out. Press your nail into the skin. If it cuts through easily, the squash is not ripe so let it continue to grow. If your nail doesn’t pierce the skin, the squash is ripe. The stems on most cultivars will turn golden which is also something to look for. When picking, leave 2 to 4 inches of stem attached to the squash. Otherwise, rot can develop in the area where it was connected to the vine. Cure the squash next. This involves moving them to a warm area that is protected from the weather for two weeks. Then move them to a cool, dark location for storage. This makes all the difference!
How to Cook & Preserve: Winter squash keep well in storage over the winter months, especially if you pick them at the right time and “cure” them for two weeks in a bright, warm location prior to placing them in storage. They can be cubed and steamed for making soups and purees, cut in half to roast in the oven as a side dish, or roasted whole in the oven to make soups and purees. To preserve, cube and freeze winter squash by cooking them until they’re soft in boiling water or in the oven, then plunging them into ice-cold water; drain and place chunks into freezer bags. It’s also possible to can squash puree using the pressure-canning method due to its low acidity.
My Videos About Growing Winter Squash:
- How to Roast Winter Squash
- When to Harvest Winter Squash
- Harvest Winter Squash & Pumpkins
- Winter Squash & Pumpkins: You Grew It, What To Do With It!
- 4 Excellent Plant Supports
- Organic Insect Control: Cucumber Beetles, Japanese Beetles, Squash Bugs, Squash Vine Borers
Back to Vegetable Grow Guide Chart
Copyright: Susan Mulvihill, Susan’s in the Garden, SusansintheGarden.com.

