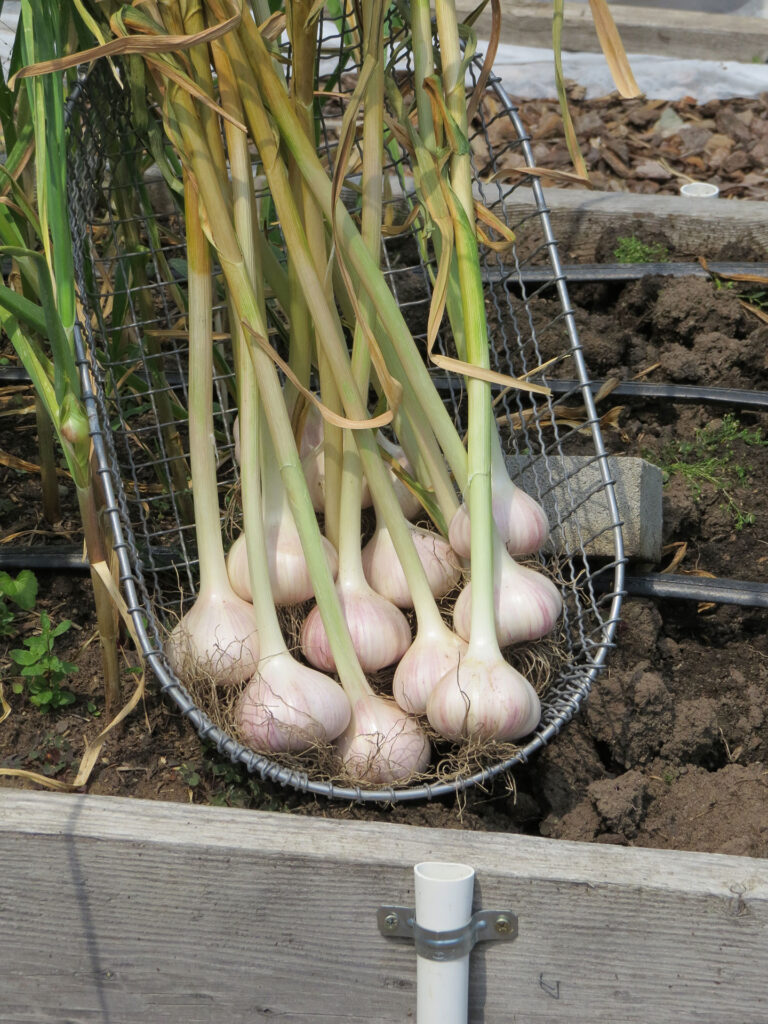
How to Grow Garlic

It’s hard to imagine cooking without garlic and if you grow your own, so much the better. To get a large harvest, plant cloves in the fall and harvest the following spring.
Latin Name: Allium sativum
Plant Family: Onion (Amaryllidaceae)
Cool-season crop
Did You Know?
Garlic has been cultivated for at least 5,000 years. It was primarily grown by many civilizations for its medicinal properties. Over time, it has become highly prized for culinary uses. There are three main types grown in the garden: hardneck, softneck and elephant garlic. Hardnecks have a stiff central stalk and produce 4 to 12 cloves within a bulb. Hardneck cloves tend to have a more intense flavor. Softnecks have a softer stem, produce more cloves within larger bulbs, and generally have a milder flavor. Grow softnecks if you want to braid your harvest together. The huge cloves of elephant garlic have a milder flavor.
Plant Seeds or Seedlings? Purchase garlic bulbs from a garden center or online because they will be disease-free. You will separate the bulbs into individual cloves to plant. It’s best not to break apart the bulbs until you’re ready to plant.
When: In the fall when the soil temperature cools down. It’s also possible to plant them in the spring but you’ll end up with smaller bulbs.
Depth to Sow: Push cloves down into the soil until there are 2 inches above the top of the clove. Note: plant the cloves with the pointed end up.
Spacing: Plant hardneck and softneck cloves 6 inches apart, and elephant garlic cloves 12 inches apart. Traditional spacing of rows is 12 inches apart, but in my raised beds, I plant rows 6 inches apart.
Cultural Information:
Follow crop rotation guidelines by avoiding planting garlic where members of the onion family have grown in the previous 3 years. This reduces the chance of disease and insect problems.
Remember to plant cloves with the pointed end facing upward. If growing more than one cultivar, be sure to label the plantings. Once the entire bed has been planted, cover it with a thick layer of mulch. Grass clippings from an untreated lawn, shredded leaves or straw work well for this. The mulch insulates the soil, preventing frost-heaving during the winter months.
In early spring, the sprouts will begin to emerge. If you used grass clippings for mulching, move them out of the way as they mat together and impede plant growth. Other mulches can remain in place unless they’re quite heavy. Water regularly and weed as necessary so they won’t compete with the garlic plants.
Hardneck garlic plants form “scapes” which are curlicue stems that will develop a flower. Remove them to force the plants to continue developing the bulbs rather than using energy to bloom. The scapes have a mild garlic flavor and are absolutely delicious when sauteed and added to savory dishes. You definitely don’t want to toss them out!
Susan’s Picks: Hardneck: ‘German Porcelain’, ‘German Red’, ‘Music’, ‘Spanish Roja’. Softneck: ‘Inchelium Red’.
When to Harvest:
Harvest your garlic plants when the lowest two pairs of leaves turn brown. Carefully lift them up with a shovel or spading fork to reduce the chance of damaging the bulbs. Move them to a sheltered, dry area such as a shed, carport or garage until the skin on the bulbs is papery dry. You can also tie the plants together in bundles and hang them in shady, sheltered areas to dry completely.
How to Cook & Preserve:
Garlic is delicious roasted or when added to soups, stews and casseroles. To preserve your harvest for later use, once the bulb skin is absolutely dry, clip off the main stem. Then store the bulbs in a cool, dry area such as a basement or insulated garage. If you have a particularly large harvest, consider separating some of the bulbs into cloves, dehydrating them, and grinding them finely in a blender so you can make your own garlic powder. One last tip is to reserve a few bulbs to plant in the fall to continue your garlic-growing tradition.
My Videos About Growing Garlic:
Back to Vegetable Grow Guide Chart
Copyright: Susan Mulvihill, Susan’s in the Garden, SusansintheGarden.com.

