Video: Seed Starting Demystified Pt. 5

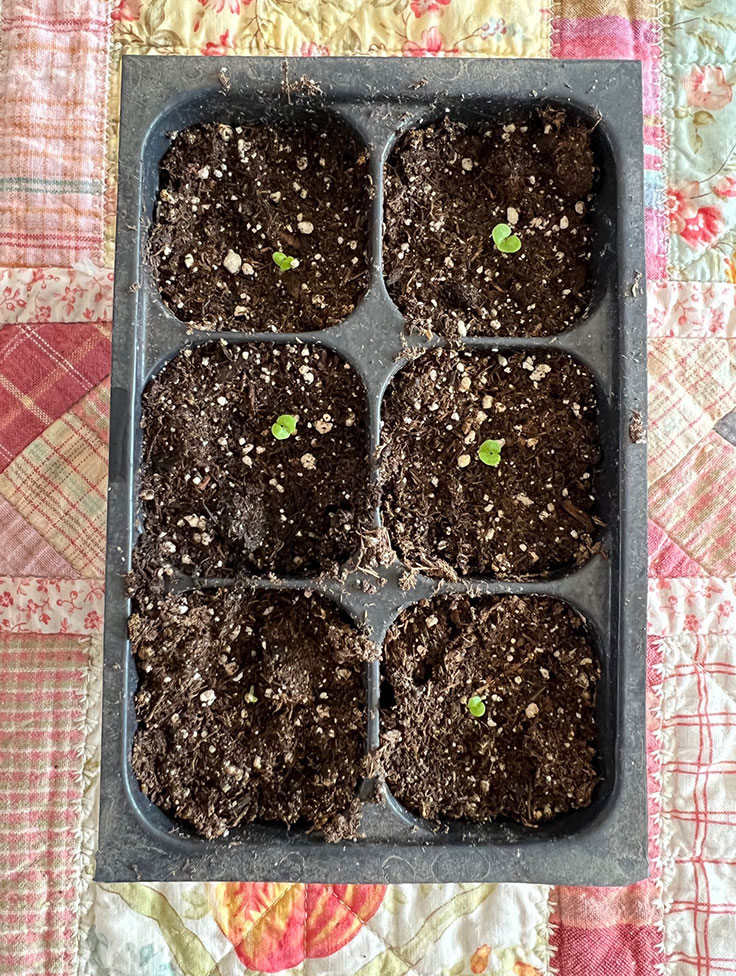
You would think I’d run out of things to tell you about seed starting but that hasn’t happened yet! In part 5 of my video series, I provide updates on all of the seeds I’ve planted so far. This includes seeds that required extra heat, darkness, not being covered with soil, and so on.
Then I dive into special treatments that you might need to do to certain types of vegetable or flower seeds so they germinate (or produce) better. Those seed starting treatments are called vernalization, stratification and scarification. Does that sound tricky? Don’t worry, because I keep things simple and straightforward! Here’s a quick explanation of each:
Seed treatments explained:
- Vernalization: I use this technique for growing artichokes from seed. These crops typically start producing in their second year. The problem is, I live in hardiness zone 5b which means artichoke plants won’t survive our winters. My solution? I put the seeds into the refrigerator for 2 weeks so they “think” they’ve been through a winter. And two weeks before the seedlings should be planted in the garden, I subject them to cool temperatures outdoors.
- Stratification: In this case, I put the seeds into a moist paper towel and move them into the refrigerator. I use this technique for growing milkweed plants from seed.
- Scarification: As the name implies, you will “scar” the seed. This can be accomplished by rubbing the seed on some sandpaper or nicking the seed coat. The method helps break down this seed coats.
You can learn more about these seed starting techniques in this blog post.
You’ll also see what our garden looks like right now. Is spring EVER going to get here?!
I hope you’ll enjoy the video. And I also wanted to thank you for such nice comments about these seed starting videos. I’m so glad they’re helpful.
If you’d like to watch more of my videos, here’s a link to my YouTube channel.

