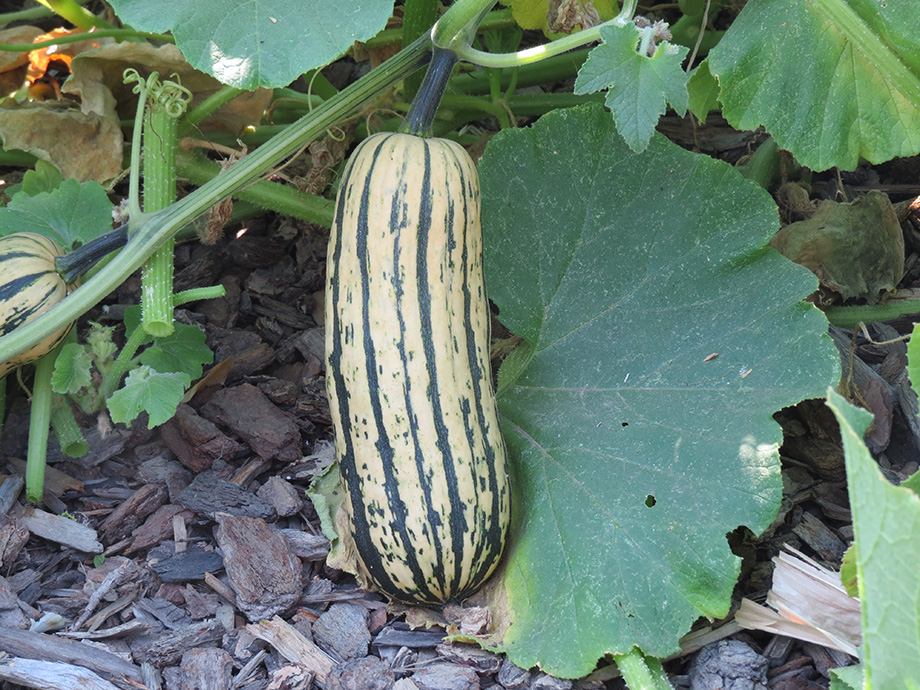
April 20 column: Winter squash
Happy Easter! Here is a link to my column in today’s edition of The Spokesman-Review: With proper care, winter squash thrive. It’s all about growing winter squash and pumpkins. (you can also read my column below)
Last year, I really got ours off to a great start by starting them early indoors. Then I covered the soil in their bed with red plastic mulch to increase the soil temperature. Once they were planted, I covered the bed with floating row cover to keep them toasty warm for the first couple of weeks. What a difference it made!
To learn more about all of this, check it out!
Column:
by Susan Mulvihill
It won’t be long before it’s safe to plant warm-season crops in our gardens. In the Inland Northwest, we usually don’t get any frosts after mid-May. That doesn’t mean you shouldn’t keep a close eye on the weather forecasts, however.
Over the past several years, I’ve gotten a lot of enjoyment out of growing my own pumpkins and winter squash. There are three secrets to being successful with these crops. First, choose short-season varieties. Second, baby the plants at the beginning of the season. And third, “cure” them for two weeks after harvest so they’ll store for several months.
When looking for pumpkin and winter squash seeds, choose the varieties wisely. Remember that we only have about 120 frost-free days in our garden season. Because of this, select varieties that mature much earlier than that.
The following pumpkin varieties have grown well for me. Those are New England Pie, Winter Luxury, Cinderella-style Rouge Vif d’Etamps and white Casper.
Winter squash varieties that grow fairly quickly include Sweet Dumpling, Delicata, Lakota, Sweet Meat and Spaghetti. While I love eating butternut and acorn squash, they don’t always produce well in my garden.
I start my pumpkin and squash plants indoors from seed around the first of May. That’s about two weeks before I transplant them into the garden. Once the seedlings have a couple of true leaves, I start feeding them. My fertilize of choice is Alaska fish fertilizer that has been diluted to half-strength.
Here’s what you can do to have a great crop:
In the garden, prepare their bed by adding plenty of organic amendments. These include shredded leaves, compost and/or composted steer manure. The most important ingredient of all is bone meal. Why? It contains a higher percentage of phosphorus than it does nitrogen or potassium. Plants that bloom and set fruit need extra phosphorus so I always work some into the soil.
The best way to water veggies is with soaker hoses or drip irrigation systems. The goal is to deliver the water to the base of the plants rather than overhead. Set whatever system you’re using on top of the bed. Then consider covering it with plastic mulch to raise the soil temperature.
I prefer red plastic mulch, sometimes referred to as tomato mulch or SRM (“Selective Reflecting Mulch”). Black plastic works well, too. It will need to be pinned or weighted down so the wind doesn’t blow it away. On planting day, cut little “x’s” into the plastic about 18 inches apart. Carefully plant a seedling through each one. Press the soil firmly around each plant so there are no air pockets in the soil.
(note: as of 2022, I completely stopped using plastic mulch as I felt it didn’t make much of a difference. I also didn’t like advocating the use of plastic in the garden.)
Now to really baby the seedlings — and protect them from chilly nights — cover the bed with floating row cover. This lightweight fabric lets in light and moisture while providing a few degrees of frost protection. You can find it at garden centers and online. Remove the cover after about 2 weeks.
Once the plants have a couple of developing fruits on them, pinch back the ends of the vines so the plants use their energy to mature them. They are ripe when you can’t push your fingernail into the flesh. At that point, cut them from the vine, leaving 2 inches of stem attached. Place the pumpkins and squash in a warm, dry and sunny area for two weeks to cure them for storage. You will be amazed at how much longer they’ll keep.

